
YuJa is the VSC’s video repository solution, allowing you to create instructional videos, share video content to enrolled students via Canvas integration, store and share classroom recordings to enrolled students, and use integration with Zoom to store Zoom recordings.
How do I access Zoom recordings in YuJa?
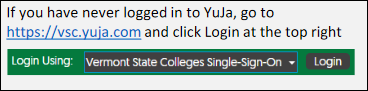
1. Navigate to https://vsc.yuja.com and click on Login in the upper right corner of the page, and sign in with your Portal username and password (if prompted).
2. You’ll see several folders. At least one folder will have Zoom in the folder name (for example: My Zoom Recordings). By default, this folder will contain your Zoom cloud recordings.
Notes:
YuJa will automatically put ALL Zoom cloud recordings in the same folder, regardless of the course or Zoom meeting ID.
It may take up to one hour from when the recording ends for Zoom cloud recordings to be pushed to YuJa.
Sharing video using direct links or embed codes
Within the YuJa Video Platform, one can share their media or folders with other users by obtaining the Direct Link or the Embed Code of the media. Please refer to this YuJa documentation: https://support.yuja.com/hc/en-us/articles/360051850793-Sharing-Content-Using-Direct-Links-or-Embed-Codes
Sharing video directly with users
Sometimes, you want to only share a video with a select group of people. The way to do this is to share the video directly with users from within YuJa.
First, double click on the folder containing the video.
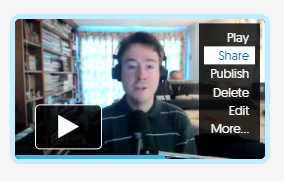
Hover your mouse over the video, and select Share
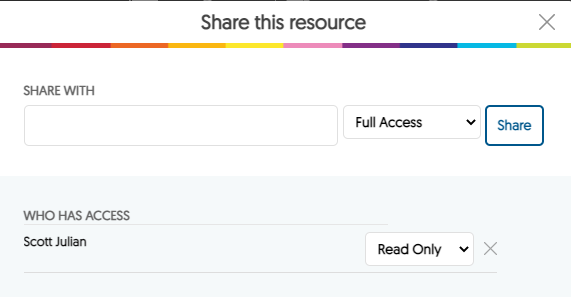
In the Share With text box, type in the name of the person you want to share the video with. Select their name in the dropdown search results to add them to the Share With text box. The list of searchable names is limited to faculty, staff, and students of the VSC. Searching works best by first name first. To remove a name, click the x next to their name. Select the dropdown menu next to Share to change the access to the desired access: Full Access, Edit Access, or Read Only access.

When you’re ready to share, click the Share button. You’ll see who has access, and what type of access, after you click Share (both of these can be edited — click the x on the far right of a row to remove the user, or click on the dropdown menu to change access type). Click Save when done.
When you click Share, the users you’ve shared the video with are sent an email with a link to the video, and text that says “[your name] has shared a video with you”
Adding YuJa recordings to Canvas – YuJa folders
Create a new folder in YuJa for each course
1. Navigate to https://vsc.yuja.com and click on Login in the upper right corner of the page, and sign in with your Portal username and password (if prompted).
2. Click the New Folder button and enter a name for the folder.

3. Click Save and the folder will be created. To enter the folder, double click on it.
Move video to other folder
1. Double click on the folder that contains the video you want to move.
2. Hover the mouse over the video you want to move, and click on More…
3. Click on the Actions tab, and click Move Media
4. Under User Collections, click your name, and then click on My Media Collections.
5. Click on the folder you want to move the video to, and click the Select button. The video is then moved to the selected folder.
Sharing a YuJa folder
Instead of having to provide individual links for each item, folders allow you to share a single link to provide students with access to all of the folder content.
1. After logging into Yuja, hover over the folder you’d like to share.
2. Click the gear icon that displays next to the folder and then select More. (if you don’t see a gear icon, click More to the right)

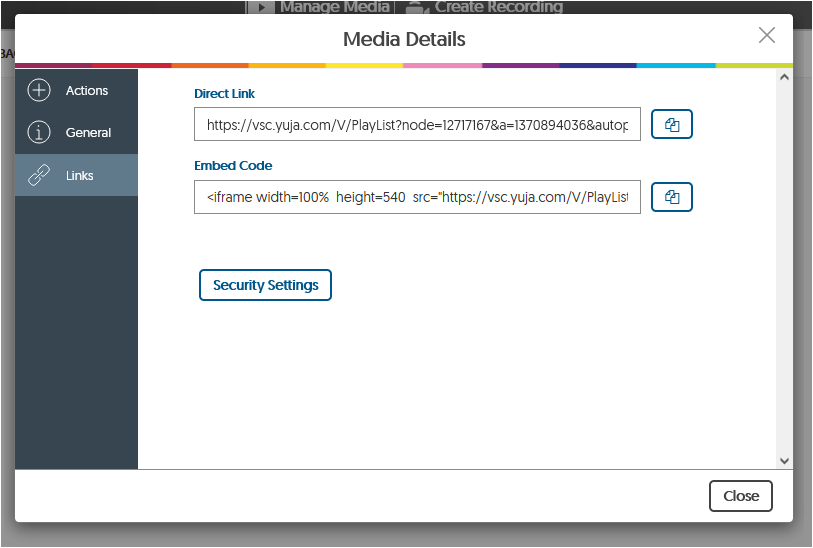
3. Select the Links tab.
4. Click the copy icon to the right of the Direct Link, or the Embed Code, and paste it to your Canvas course for students to access.
Adding YuJa recordings to Canvas – embed in page/discussion/assignment
Adding each video to a page, discussion, or assignment, if it connects to that part of your course, might be a good option. That way, you can add context (“The video below shows how to put on a climbing harness”) and have the video with related material, instead of having the students search through a YuJa folder for the video they want.
1. Navigate to https://vsc.yuja.com and click on Login in the upper right corner of the page, and sign in with your Portal username and password (if prompted).
2. Double click the folder containing the videos you want.
3. Hover over the desired video, and click More…
4. Click the copy button next to the Embed Code
5. Edit an existing, or create a new Canvas page, discussion, or assignment.
6. Above the text input box, click the embed icon (circled in red)
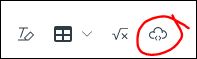
6. Paste the embed code into the text field, and click Submit
7. Optionally, type descriptive text to add context for the video (e.g. “The video below shows how to put on a climbing harness”)
8. Click Save (or Save & Publish, if you’re ready to publish the page, discussion, or assignment)
Refer to How do I embed media from an external source for additional instructions.
Adding YuJa recordings to Canvas – add to Canvas module
Bulk upload recordings to YuJa
If you have several videos that are not on YuJa, you can bulk upload these to YuJa.
1. Login to YuJa at https://vsc.yuja.com
2. Determine the folder where you want to upload the recording. Open this folder in YuJa by double clicking on it.
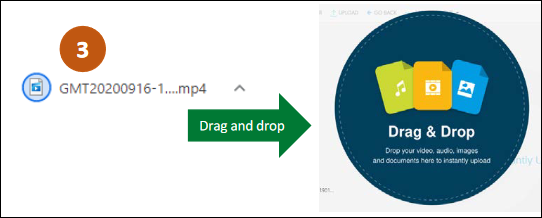
3. Drag and drop the video from your computer to the YuJa folder you just opened. If you have your Downloads folder open in another window, you can select more than one recording file simultaneously by clicking on one file, holding shift, and selecting additional files so that they are highlighted. Then, click and drag all of these recordings (while they are highlighted) to YuJa to upload all of them simultaneously.
4. It will take a few moments to load. When it’s done uploading, the video(s) will appear in a list. Hover the cursor over the video and click More… to rename, publish, and edit the video. You should also be able to test the playback of the video.
5. If all is well, please go back to Zoom and follow the Delete cloud recordings you no longer need instructions, above.
Please also refer to YuJa’s documentation on how to do this: https://support.yuja.com/hc/en-us/articles/360049059313-Bulk-Uploading
Classroom Recording Policy
The Classroom Recording Policy applies to all photo images, audio recordings, and video recordings of classes, regardless of software used (i.e. Zoom, YuJa, Teams, etc). The purpose of this policy is to define appropriate procedures for capturing, sharing, and protecting classroom recordings. If a student is identified or recognizable in an audio or video recording or image, this recording can be considered part of the student’s educational record and is protected by the Family Educational Rights and Privacy Act (FERPA). This policy does not apply to recordings that include only the instructor.
Any recording that includes students must be deleted after 6 months (or 180 days). Any classroom recordings beyond the current semester that include students should be deleted as they cannot be shared with subsequent classes.